
How to Get Clean Laser Cuts Without Burning or Charring
Dark edges, smoke staining and surface scorch marks are not simply an unavoidable part of laser cutting. Cleaner results come from balancing speed, power, focus, airflow, extraction and material quality.
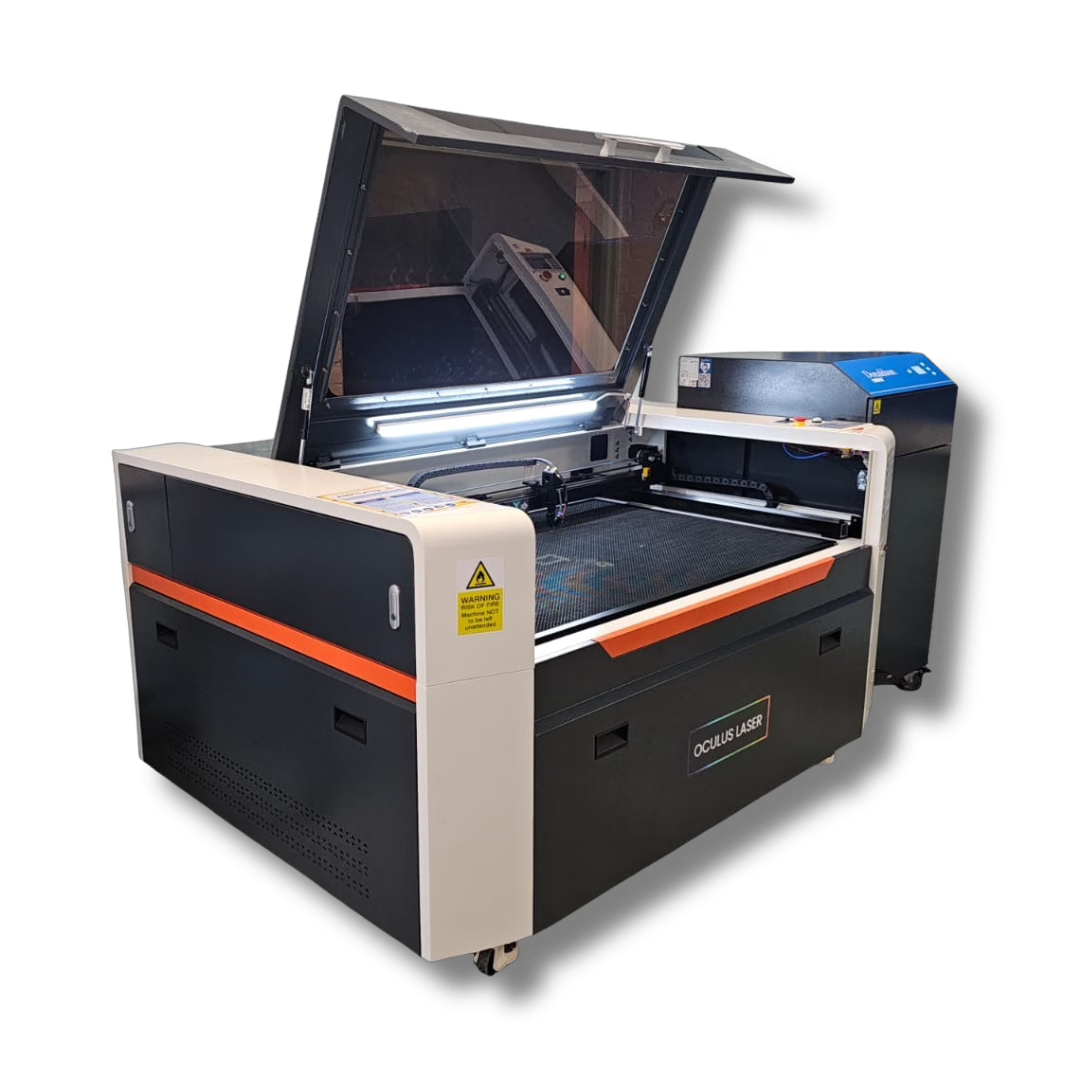
Burning and charring usually indicate that too much heat is remaining in the material, smoke is not being cleared effectively, or the beam is not cutting as efficiently as it should. The solution is rarely to increase power without considering the rest of the setup.
Burning is usually a setup issue
A CO₂ laser cuts by concentrating energy into a very small area. To achieve a clean edge, the machine must remove material efficiently while heat, smoke and debris are carried away from the cutting zone.
When the laser moves too slowly, uses more power than necessary, has poor airflow or is working with unsuitable material, heat builds around the cut. This can create dark edges, surface staining, flare-ups and a strong burnt smell.
Clean laser cuts do not come from maximum power. They come from the right balance of heat, movement, focus and airflow.
Heat input
Power and cutting speed determine how much heat reaches the material.
Focus position
The focal point affects efficiency, kerf width and cut consistency.
Air and extraction
Airflow clears smoke, debris and heat from the cutting zone.
Material quality
Glue, density, coatings and moisture can all affect the result.
Balance cutting speed and laser power
One of the most common causes of charring is running too slowly with more power than the job requires. The longer the beam remains over one area, the more time heat has to spread into the surrounding material.
Where the cut is already passing fully through the sheet, increase the cutting speed in small steps. If the material no longer cuts through consistently, increase power gradually or reduce speed slightly.
Check the focus height
Correct focus helps the laser deliver its energy efficiently. If the bed height or focal distance is wrong, the beam becomes wider at the material surface and more heat is needed to complete the cut.
The material must also remain flat. A bowed sheet can move in and out of focus as the head travels across the bed.
Change one setting at a time
Record the material, thickness, speed, power, air setting and focus position for each test. This makes it much easier to identify what genuinely improved the cut. Once a reliable setting has been found, save it as a starting point for future jobs.
Check air assist and extraction
Air assist directs a steady flow into the kerf, helping to clear smoke and debris while reducing small flare-ups. Extraction then removes fumes from the cutting area.
- Confirm that air is flowing before starting.
- Check the nozzle is clean and correctly positioned.
- Inspect hoses, ducting and filters for restrictions.
- Make sure smoke is clearing quickly.
Use suitable, consistent materials
Two sheets that look identical can cut differently. Plywood may contain knots, voids and glue layers. MDF can vary in density and resin content.
Laser-grade materials are generally more consistent. Never assume an unknown plastic, coating or composite is safe to cut. Confirm the material specification first.
Protect visible surfaces
Low-tack paper masking tape or laser-compatible masking film can protect the upper surface from smoke deposits and light scorch marks.
On some thicker wood-based materials, two faster passes at a controlled setting may produce a cleaner result than one very slow pass.
Keep the optics and cutting area clean
Residue on a lens or mirror reduces the amount of useful laser energy reaching the material. Operators may then compensate with more power or a slower speed.
Inspect optics regularly and keep the bed and cutting area free from residue.
Use the finished result to diagnose the problem
The appearance and location of the marking often provides a useful clue. Start with the simplest causes and work methodically rather than changing several proven settings at once.
Check smoke extraction, masking, air assist and dwell time.
Try a faster speed, review power and check focus.
Check sheet flatness, material consistency and optics.
Confirm focus and optics before adding more power.
A practical troubleshooting order
- Confirm the material and thickness.
- Check sheet flatness and focus height.
- Inspect the lens, mirrors and nozzle.
- Confirm air assist and extraction.
- Run a small test before changing power.
- Record the successful settings.
Do not ignore flare-ups or unusual smoke
A laser cutter must remain supervised while operating. Stop the machine if you see sustained flames, unexpected smoke or any material reaction that does not look normal.
Suitable extraction, a clean machine and the correct fire-safety arrangements are essential.
Cleaner cutting starts with a repeatable process
The best results come from combining sensible settings with consistent preparation and maintenance. Keep a record of successful parameters, inspect the machine regularly and test unfamiliar materials before committing to a full job.
The Oculus Benchtop, Oculus Free-Standing and Oculus Flatbed ranges are designed for cutting and engraving suitable non-metal materials, with installation, operator training and ongoing support from Opus CNC.
Need help choosing or operating a CO₂ laser?
Speak to the Opus CNC team about laser selection, suitable materials, installation, training, extraction, servicing and ongoing technical support.